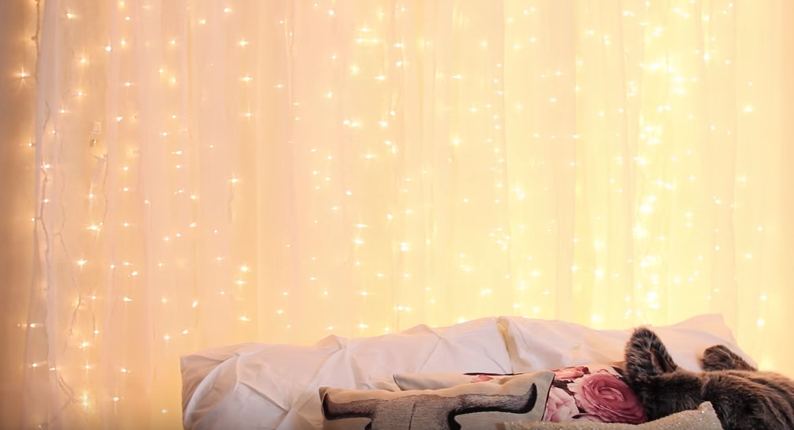
Looking to give your bedroom a cheap & chic upgrade? This light-up headboard is flirty, fun, and so so easy! Nastazsa from YouTube channel “LagunaBeachLove10″ shows us how to make a beautiful DIY Light Up Headboard to hang behind your bed.
You can easily adjust this project to whatever size you need. Just change the size of your curtain rod! This project is super simple, and is great for the DIYer on a tight budget!
[rsnippet id=”4″ name=”DFP/34009881/Article_1″][rsnippet name=”universal-likebox” multi-site=”true”]
Here are the tools you’ll need:
– Curtain rod to fit the length of space desired
– Mini Christmas lights (She uses two boxes of 300 lights each)
– Damage-free plastic hooks (She uses a full 18 pack)
– Curtains (She uses white Teresia curtains from IKEA)
[rsnippet id=”5″ name=”DFP/34009881/Article_2″]
Here are the step-by-step instructions:
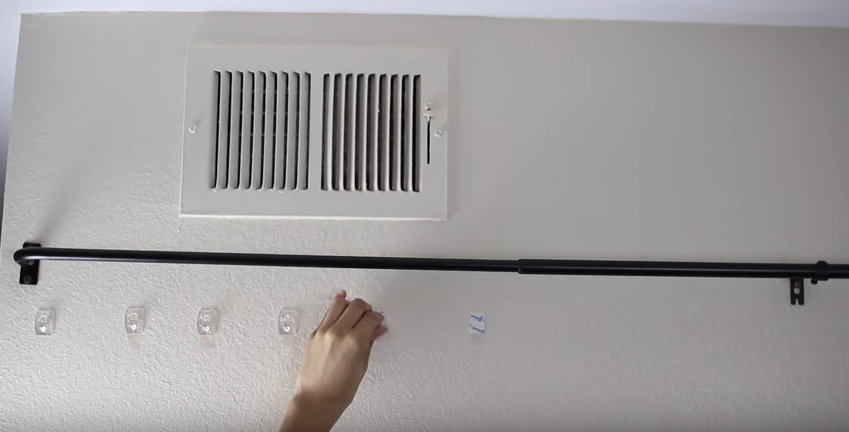
– Hang the curtain rod with an electric drill
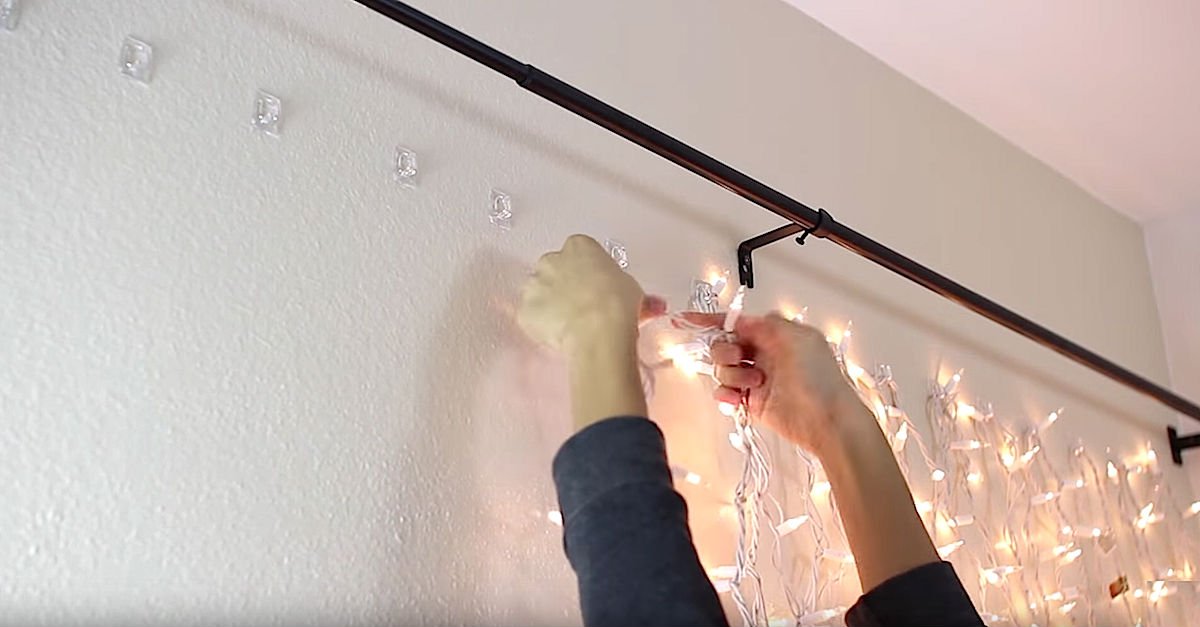
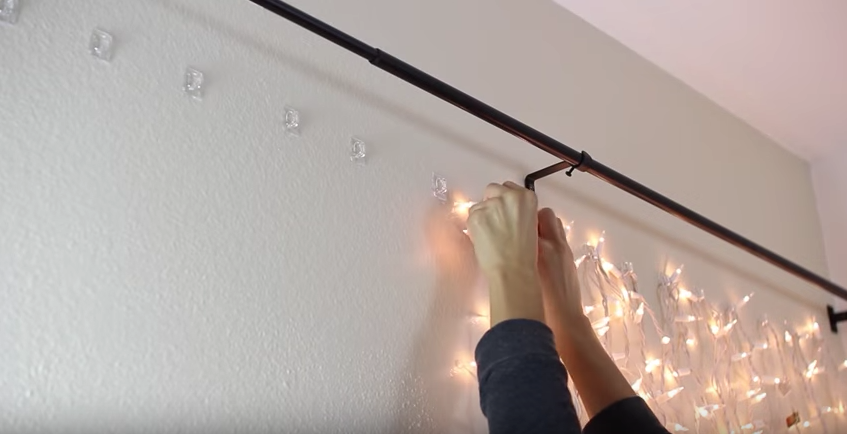
– Add hooks in a straight line, evenly spaced apart
– Now, add the lights by draping them around the hooks. Avoid tangles in the wire.
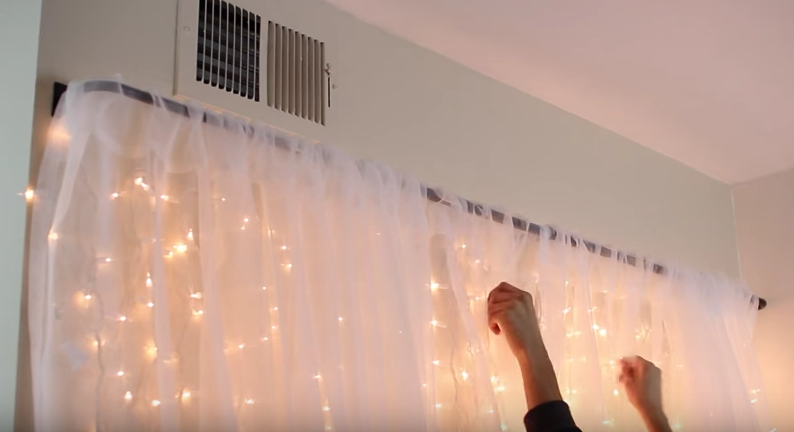
– Take the curtain rod down. Fit the curtain onto the curtain rod and rehang the rod.
– Arrange the curtain as desired.
– Turn on the lights, and enjoy the view!
[rsnippet id=”6″ name=”DFP/34009881/Article_3″]
This light-up headboard adds such a lovely touch to any bedroom. I seriously can’t wait to make one for myself! Please SHARE this awesome DIY project with your friends on Facebook, and check out Nastazsa’s full tutorial in the video below!


